lennox s40 installation manual
Lennox S40 Installation Manual: A Comprehensive Guide
This guide provides detailed instructions for a successful Lennox S40 thermostat installation‚ covering everything from pre-installation checks to advanced configuration options․
It’s designed for homeowners and HVAC professionals alike‚ ensuring a smooth and efficient setup process for optimal comfort and energy savings;
Understanding the Lennox S40 Thermostat
The Lennox S40 is a smart‚ communicating thermostat designed to seamlessly integrate with modern HVAC systems‚ offering homeowners enhanced control and efficiency․ Unlike traditional thermostats‚ the S40 utilizes a proprietary communication protocol to exchange data with compatible Lennox equipment‚ enabling features like precise temperature management and advanced diagnostics․
This thermostat isn’t just a temperature controller; it’s a central hub for your home comfort․ It learns your preferences‚ adapts to your schedule‚ and provides insights into your energy usage․ The S40’s intuitive interface‚ coupled with remote access via the Lennox Home app‚ allows for convenient adjustments from anywhere․ Understanding its capabilities is crucial for a successful installation and maximizing its benefits․ It requires a compatible system for full functionality‚ as highlighted in the Lennox documentation․
Key Features and Benefits of the S40
The Lennox S40 boasts several key features enhancing home comfort and energy savings․ Its smart functionality allows for automated scheduling and remote control via the Lennox Home app‚ providing convenience and flexibility․ Precise temperature control‚ enabled by its communicating technology‚ minimizes temperature swings and optimizes efficiency․
Advanced diagnostics offer valuable insights into system performance‚ potentially identifying issues before they escalate․ The S40’s ability to integrate with Lennox Smart Zoning systems allows for customized comfort in different areas of your home․ Furthermore‚ the secure PIN access feature protects your settings․ These benefits translate to lower energy bills‚ increased comfort‚ and peace of mind‚ making the S40 a worthwhile investment for any homeowner seeking a modern HVAC control solution․
Safety Precautions Before Installation
Prior to commencing installation‚ always disconnect power to your HVAC system at the breaker box to prevent electrical shock․ Verify the power is off using a non-contact voltage tester․ Wear appropriate safety glasses and gloves during the wiring process․
If you are unfamiliar with electrical wiring‚ consult a qualified HVAC technician․ Improper wiring can damage the thermostat or your HVAC equipment‚ and potentially create a fire hazard․ Carefully read and understand all instructions in this guide before beginning․ Keep children and pets away from the work area․ Ensure the installation location is dry and free from obstructions․ Following these precautions will ensure a safe and successful S40 thermostat installation․
Pre-Installation Checklist
Before starting‚ confirm HVAC system compatibility‚ gather necessary tools‚ and carefully identify existing wiring for a seamless Lennox S40 thermostat installation process․
Tools Required for Installation
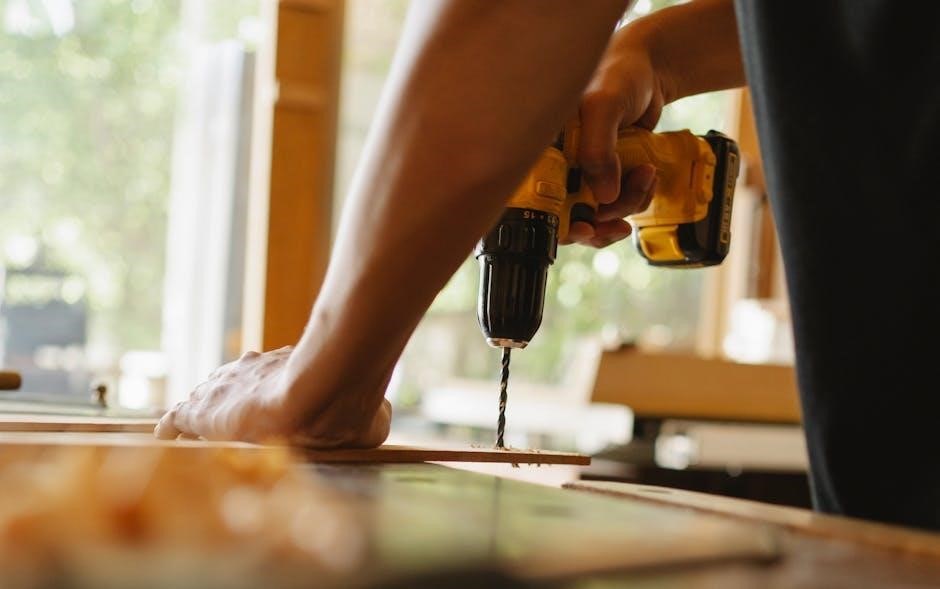
Successfully installing your Lennox S40 thermostat requires a specific set of tools to ensure a safe and efficient process․ A Phillips head screwdriver is essential for removing and securing the thermostat and base plate․ A flathead screwdriver may also be needed for certain wiring connections․
Wire strippers are crucial for preparing the existing HVAC wiring for connection to the S40 base plate‚ ensuring clean and reliable connections․ A voltage tester is paramount for safety‚ verifying power is off before handling any wires․
A level will help ensure the thermostat is mounted straight for aesthetic appeal and accurate readings․ Pencil and masking tape are useful for marking wiring locations and mounting holes․ Finally‚ a smartphone or tablet with Wi-Fi access is needed for the setup and configuration process‚ connecting the S40 to your home network․
HVAC System Compatibility Check
Before beginning the Lennox S40 thermostat installation‚ verifying your HVAC system’s compatibility is crucial for optimal performance․ The S40 is designed to work with most standard 24V heating and cooling systems‚ including furnaces‚ air conditioners‚ and heat pumps․
However‚ it’s essential to confirm your system doesn’t utilize proprietary communication protocols that may cause incompatibility․ Systems with high-voltage wiring (110V or 220V) are generally not compatible and require professional assessment․
Check your existing thermostat wiring; the S40 supports common wiring configurations like C-wire‚ but operation without a C-wire may require a compatibility adapter․ Refer to the Lennox documentation or consult an HVAC professional if you’re unsure about your system’s compatibility to avoid potential issues․
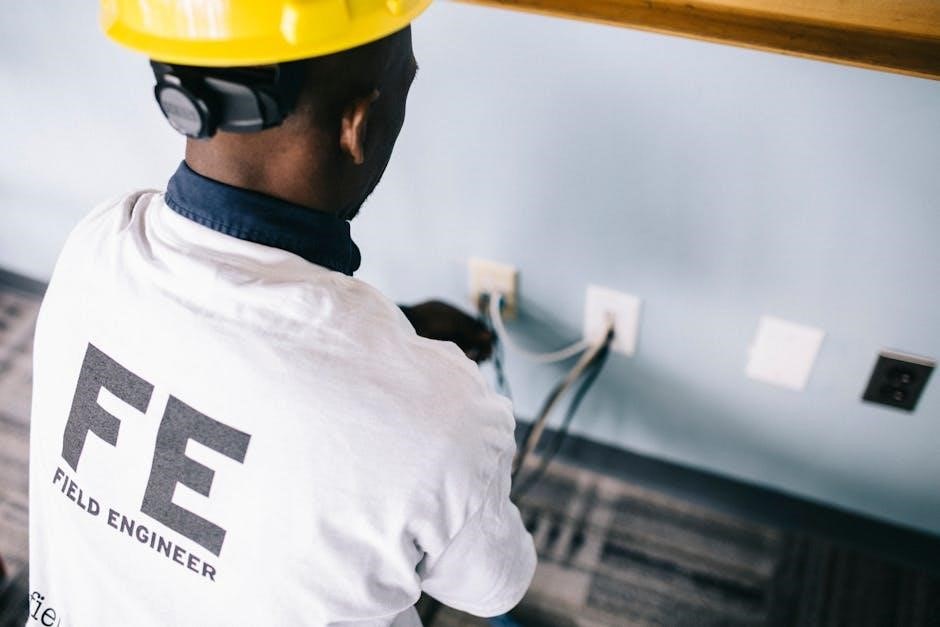
Identifying Existing Wiring
Carefully identifying your existing thermostat wiring is a critical step before installing the Lennox S40․ Begin by turning off power to your HVAC system at the breaker box to ensure safety․ Remove your old thermostat to expose the wiring terminals․
Take a clear photograph of the existing wiring configuration for reference․ Label each wire with its corresponding terminal designation (e․g․‚ R‚ W‚ Y‚ G‚ C)․ Common wire colors include red (R)‚ white (W)‚ yellow (Y)‚ green (G)‚ and blue (C)․
If wires are unlabeled or you’re unsure of their function‚ consult your HVAC system’s documentation or a qualified technician․ Accurate wiring identification prevents damage to your system and ensures proper S40 functionality․
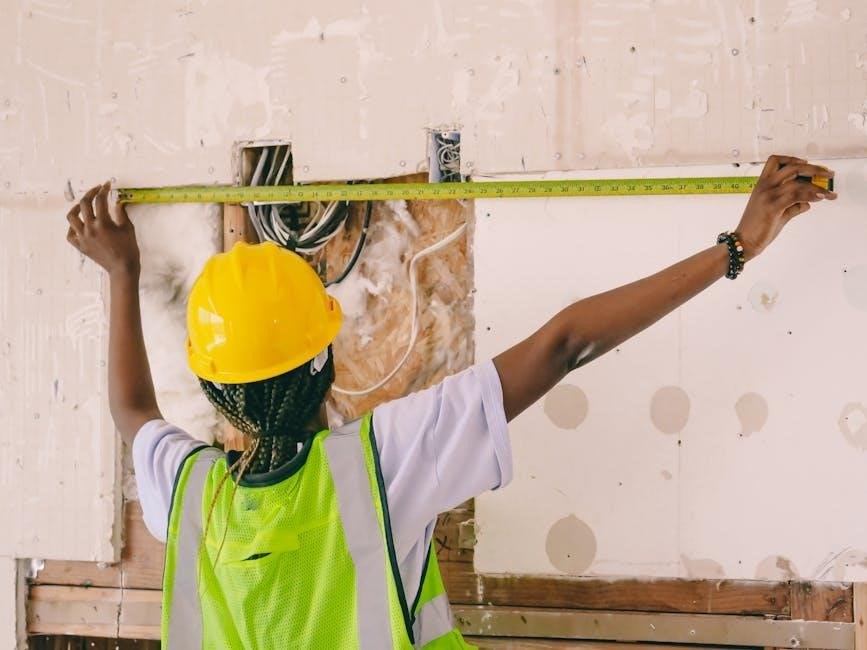
Installation Process: Step-by-Step
This section details the installation‚ starting with removing the old thermostat‚ connecting wires to the S40 base plate‚ and securely mounting the new device․
Removing the Old Thermostat
Before beginning‚ always turn off power to your HVAC system at the breaker box to prevent electrical shock․ Carefully remove the cover of your existing thermostat‚ often by gently prying it off or releasing a latch․ Take a clear photograph of the existing wiring connections – this is crucial for accurate re-connection to the Lennox S40 base plate․
Label each wire with the corresponding terminal designation (e․g․‚ R‚ W‚ G‚ Y‚ C) using the provided wire labels or masking tape․ Disconnect the wires one at a time‚ ensuring they don’t fall back into the wall․ Once all wires are disconnected‚ carefully remove the old thermostat base plate from the wall․ Clean the wall surface to prepare it for mounting the new S40 base plate․
Connecting the Wiring to the S40 Base Plate
Using the photograph and labels from the previous step‚ carefully connect each wire to the corresponding terminal on the Lennox S40 base plate․ Ensure each wire is securely inserted into the terminal – a gentle tug will confirm a solid connection․ Refer to the Lennox Smart Zoning Installation and Setup Guide for specific wiring diagrams if you have a zoning system․
Pay close attention to the ‘C’ wire (common wire)‚ as it’s essential for powering the S40․ If you don’t have a ‘C’ wire‚ consult a qualified HVAC technician for assistance․ Double-check all connections against your wiring diagram to avoid errors․ Incorrect wiring can damage your HVAC system or the thermostat․

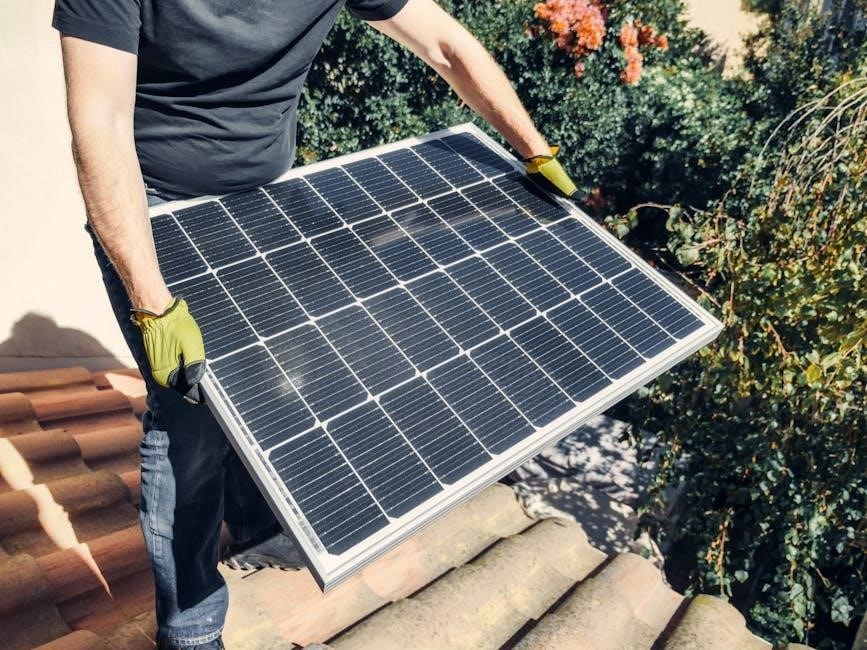
Mounting the S40 Thermostat
Once the wiring is securely connected‚ carefully align the S40 thermostat with the base plate․ Gently push the thermostat onto the base plate until it clicks into place‚ ensuring it’s firmly seated․ Avoid forcing it‚ as this could damage the connections or the thermostat itself․
Use the provided screws to secure the thermostat to the wall․ Ensure the screws are tightened sufficiently to hold the thermostat in place‚ but avoid over-tightening‚ which could strip the screw holes․ Finally‚ verify that the thermostat is level for a professional appearance and proper operation․ A level thermostat ensures accurate temperature readings and a user-friendly experience․
S40 Thermostat Setup and Configuration
Following a successful installation‚ this section details powering on the S40‚ connecting to your home Wi-Fi network‚ and generating a secure PIN․
Powering On and Initial Setup
Once the physical installation and wiring are complete‚ the S40 thermostat is ready for its initial power-up sequence․ Ensure the HVAC system’s power supply is active at the breaker․ The thermostat screen should illuminate‚ initiating the startup process․
The initial setup will guide you through selecting your preferred language‚ date‚ and time settings․ Pay close attention to these prompts‚ as accurate information is crucial for proper operation․ The S40 may also prompt you to register the device‚ which is recommended for warranty purposes and access to future updates․
During this phase‚ the thermostat performs a self-diagnostic check to verify all components are functioning correctly․ Any detected issues will be displayed on the screen‚ providing valuable insight into potential problems․
Connecting to Home Wi-Fi
Establishing a Wi-Fi connection unlocks the S40 thermostat’s smart features‚ enabling remote control and access to advanced functionalities․ From the thermostat’s menu‚ navigate to the network settings․ The S40 will scan for available Wi-Fi networks in your area․
Select your home network from the list and enter the corresponding password when prompted․ Ensure the password is entered correctly‚ as incorrect credentials will prevent a successful connection․ If your network is hidden‚ you’ll need to manually enter the network name (SSID)․
Once connected‚ the thermostat will display a confirmation message․ A stable Wi-Fi connection is essential for reliable performance and access to online features․
Generating a PIN for Secure Access
To safeguard your Lennox S40 thermostat settings and prevent unauthorized access‚ a Personal Identification Number (PIN) is crucial․ Within the thermostat’s settings menu‚ locate the security or access control options․ Initiate the PIN generation process‚ and the system will prompt you to create a four-digit code․
Choose a PIN that is easy for you to remember but difficult for others to guess․ Avoid using easily identifiable numbers like birthdays or addresses․ Once set‚ the PIN will be required to modify certain settings‚ such as temperature schedules or Wi-Fi configurations․
Remember to store your PIN in a secure location‚ separate from the thermostat itself․
Advanced Configuration Options
Explore the S40’s full potential by customizing temperature settings‚ establishing a convenient sleep mode‚ and activating advanced diagnostics for optimal system performance․
Adjusting Temperature Settings
The Lennox S40 thermostat offers flexible temperature control options to suit your comfort preferences․ Through the intuitive touchscreen interface‚ you can easily adjust both heating and cooling setpoints․ To modify the temperature‚ simply navigate to the main screen and use the up or down arrows to select your desired temperature․
The S40 allows for precise adjustments‚ typically in one-degree increments․ You can also create customized schedules to automatically adjust temperatures throughout the day‚ optimizing energy efficiency and ensuring comfort when you’re home or away․ Explore the scheduling features within the thermostat’s menu to establish a personalized heating and cooling plan․ Remember to save your changes after making any adjustments to ensure they are implemented․
Setting Up Sleep Mode
The Lennox S40’s Sleep Mode feature is designed to provide comfortable temperatures while you rest‚ and to conserve energy during sleeping hours․ To activate Sleep Mode‚ access the thermostat’s main menu and select the “Sleep” option․ You can then customize the temperature settings for both heating and cooling while in Sleep Mode․
Typically‚ Sleep Mode will gradually adjust the temperature a few degrees from your regular setpoint‚ creating a more comfortable sleeping environment without significantly impacting energy consumption․ You can also set a duration for Sleep Mode‚ allowing it to automatically deactivate after a specified period․ This ensures your system returns to your normal schedule when you wake up․
Enabling Advanced Diagnostics
The Lennox S40 thermostat offers advanced diagnostic capabilities to help troubleshoot potential issues with your HVAC system․ To enable these features‚ navigate to the “Settings” menu on the thermostat and select “Advanced Diagnostics․” This will unlock a range of system monitoring tools․
These tools can display real-time data on system performance‚ including temperatures‚ pressures‚ and error codes․ Accessing these diagnostics can assist in identifying the root cause of problems‚ potentially saving time and the cost of a service call․ Remember to consult the Lennox homeowner guide or contact customer support if you encounter unfamiliar error codes or require assistance interpreting the diagnostic data․

Troubleshooting Common Installation Issues
This section addresses frequent problems during S40 installation‚ like power failures‚ Wi-Fi connectivity issues‚ and inaccurate temperature readings‚ offering practical solutions․
No Power to the Thermostat
Troubleshooting a lack of power to your Lennox S40 thermostat requires a systematic approach․ First‚ verify the circuit breaker supplying power to your HVAC system hasn’t tripped․ Reset it if necessary․ Next‚ carefully inspect the wiring at both the thermostat base plate and the furnace control board‚ ensuring all connections are secure and haven’t come loose during installation․
Confirm the C-wire (common wire) is properly connected; the S40 often requires a constant 24VAC power source․ If a C-wire isn’t present‚ a C-wire adapter may be needed․ Use a multimeter to test for voltage at the thermostat terminals – you should read approximately 24VAC․ If no voltage is detected‚ the issue may lie with the transformer in your furnace; professional assistance is recommended in this case․
Finally‚ double-check the thermostat’s internal fuse (if equipped) and replace it if blown․
Wi-Fi Connection Problems
Experiencing difficulty connecting your Lennox S40 to Wi-Fi? Begin by ensuring your home network is functioning correctly and that you have the correct password․ Verify the thermostat is within range of your Wi-Fi router; walls and interference can weaken the signal․ If your Home Wi-Fi Access Point is Hidden‚ you’ll need to manually enter the SSID during setup․
Restart both your router and the thermostat – a simple reboot often resolves connectivity issues․ Check for firmware updates for both your router and the S40‚ as these can improve compatibility․ If problems persist‚ temporarily disable any firewall settings on your router that might be blocking the connection․
Consult the Lennox S40 Homeowner Guide for specific troubleshooting steps and consider contacting Lennox Customer Support for assistance․
Incorrect Temperature Readings
If your Lennox S40 displays inaccurate temperature readings‚ first verify the thermostat isn’t exposed to direct sunlight‚ drafts‚ or heat sources‚ as these can skew results․ Ensure proper airflow around the unit; obstructions can affect temperature sensing․ Calibrate the thermostat through the settings menu – the S40 allows for temperature offset adjustments․
Double-check the wiring connections to the base plate‚ ensuring they are secure and correspond to the correct terminals․ Confirm your HVAC system is functioning correctly; a malfunctioning system can cause inaccurate readings․
Enabling Advanced Diagnostics can provide insights into potential sensor issues․ If the problem continues‚ consult the Lennox S40 Homeowner Guide or contact Lennox Customer Support for further assistance․
Lennox Smart Zoning System Integration
Integrating the S40 with a Lennox Smart Zoning System requires specific wiring diagrams and configuration within the thermostat’s settings for optimal zone control․
Wiring Diagrams for Smart Zoning
Understanding the wiring schematics is crucial for successful integration of the Lennox S40 thermostat with a Smart Zoning System․ These diagrams‚ detailed in the Lennox Smart Zoning Installation and Setup Guide‚ illustrate the precise connections needed between the thermostat‚ zone dampers‚ and the HVAC equipment․
Typically‚ you’ll encounter wiring for zone control boards‚ utilizing wires for power‚ common connections‚ and individual zone designations․ Carefully follow the diagram corresponding to your specific zoning system configuration․ Incorrect wiring can lead to system malfunctions or damage․
Pay close attention to the identification of each wire and ensure secure connections․ The guide provides clear labeling and color-coding to assist with this process․ Always de-energize the HVAC system before working with any wiring․ Referencing the official Lennox documentation is paramount for a safe and effective installation․
Configuring Zones with the S40
Once the wiring is complete‚ the Lennox S40 thermostat must be configured to recognize and control each zone within your Smart Zoning System․ This process involves accessing the thermostat’s menu and navigating to the zoning settings․ The S40 allows for customized temperature schedules and settings for each individual zone‚ maximizing comfort and energy efficiency․
You’ll typically need to assign a name to each zone (e․g․‚ “Living Room‚” “Bedroom”) and define its temperature preferences․ The thermostat’s interface will guide you through this setup․ Ensure each zone is correctly associated with its corresponding damper control wire․
Proper configuration ensures the S40 can intelligently manage airflow and temperature‚ delivering personalized comfort throughout your home․ Refer to the Lennox Smart Zoning Installation and Setup Guide for detailed‚ step-by-step instructions․

Resources and Support
Access the Lennox S40 Homeowner Guide‚ online FAQs‚ and dedicated customer support for assistance with installation and ongoing operation․
Lennox S40 Homeowner Guide
The Lennox S40 Homeowner Guide serves as an essential companion to your new smart thermostat‚ offering a wealth of information designed to maximize your comfort and understanding․ This comprehensive resource details the thermostat’s features‚ operational modes‚ and troubleshooting tips‚ empowering you to take full control of your home’s climate․
Within the guide‚ you’ll find clear explanations of the S40’s interface‚ including how to adjust temperature settings‚ create schedules‚ and utilize advanced features like geofencing and remote access․ It also provides valuable insights into understanding error messages and performing basic maintenance․ The guide is readily available online through the official Lennox website‚ offering convenient access whenever you need it․ It complements the Installation and Setup Guide‚ focusing on day-to-day operation and long-term enjoyment of your smart home system․
Accessing Online Support and FAQs
Lennox provides extensive online support resources to assist you with your S40 thermostat‚ including a comprehensive Frequently Asked Questions (FAQs) section․ This digital support hub is readily accessible through the official Lennox website‚ offering solutions to common installation and operational queries․
You’ll find detailed articles‚ troubleshooting guides‚ and video tutorials covering a wide range of topics‚ from initial setup to advanced configuration․ The online platform allows you to search for specific issues or browse categorized support materials․ Furthermore‚ Lennox’s online resources often include wiring diagrams and compatibility information‚ supplementing the Installation and Setup Guide․ Utilizing these resources can often resolve issues quickly and efficiently‚ minimizing the need for direct contact with customer support․
Contacting Lennox Customer Support
For personalized assistance with your Lennox S40 thermostat installation or operation‚ Lennox customer support is available through multiple channels․ Direct contact can be made via phone during business hours‚ allowing you to speak with a knowledgeable representative who can address specific concerns․
Additionally‚ Lennox offers support through their official website‚ often including a contact form for submitting inquiries․ This ensures a documented record of your request․ When contacting support‚ having your thermostat’s model number and date of installation readily available will expedite the process․ Be prepared to describe the issue in detail‚ and if possible‚ reference any troubleshooting steps you’ve already taken․